Semantic Versioning in Azure DevOps: Automating Version Management with semantic-release-ado
July 09, 2026

Getting Started with SharePoint Framework (SPFx)
Back in 2016, Microsoft unveiled the next development model for SharePoint called the SharePoint Framework (SPFx). Over the years, SharePoint Framework has evolved from the ability to create just SharePoint Webpart into a sophisticated framework that includes Field Customizer, ListView Command Set, Microsoft Teams tab apps, and much more.
So, what is SharePoint Framework? Well, SharePoint Framework, better known as SPFx, is a client-side development framework that utilizes modern development toolchains to create web parts and solutions for SharePoint Online. Someone in the SharePoint community once called SPFx “a formal way of creating the JavaScript web parts without content editor web parts.”
Microsoft has even moved all their SharePoint development for SharePoint first-party web parts into SPFx. Unlike previous SharePoint development models, this one is here to stay!
Component Types of SharePoint Framework
There are 4 main component types in SharePoint Framework that you can build: web parts, extensions, libraries, and Adaptive Card Extension.
Web Parts
SharePoint web parts are display controls that can be put on almost any SharePoint page. Every site page within SharePoint has web parts on them, whether the page was built by you or Microsoft. With SharePoint Online, these web parts are all client-side and execute client-side in the browser.
Extensions
SPFx extensions allow you to enhance the user experience within modern SharePoint pages, document libraries, or lists views. There are 3 types of extensions you can create:
- Application Customizers: This allows you to add functionality to all pages within SharePoint Online quickly. They can also be used to add custom HTML into the well-known SharePoint placeholders for a custom look and feel.
- Field Customizers: This allows you to modify views to data for fields within a list. This is the replacement for jsLink in classic SharePoint.
- Command Sets: This allows you to create custom buttons on modern SharePoint pages to create new actions and custom behaviors as needed.
Libraries
The library component type allows you to share code and functions across multiple SharePoint Framework projects. They are deployed just like a web part but can be referenced in code like a shared DLL from full-trusted solutions from SharePoint On-Premises.
Adaptive Card Extension
The Adaptive Card Extension is new with the growth of Microsoft Viva. This component type enables developers to build extensions to Viva Connections' dashboards and SharePoint pages.
Getting Started
What will you need to get started with developing your first SharePoint Framework solution?
First, install Node.js. SharePoint Framework v1.14.0 is supported on the following Node.js versions:
- js v12.13.0+ (Erbium)
- js v14.15.0+ (Fermium)
Based on my experience, I would recommend starting with installing Node Version Manager (NVM). NVM is a tool used to install and run multiple versions of NodeJS on a machine. It allows you to switch between NodeJS versions based on the project you are working on on the same machine. NVM will allow you to fix issues in older projects (such as projects written with SPFx 1.10 and NodeJS v10) while working on new projects with SPFx 1.14.0 and NodeJS V14 without having to upgrade the older code to the newer version framework.
Note: at the time of this article, SharePoint 1.15.0 was just released in beta. We will be using SharePoint 1.14.0 for all the examples.
Installing NVM
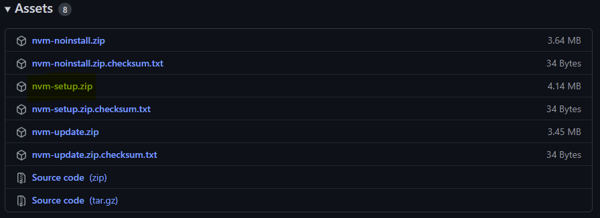
First, download the nvm-setup.zip from the project’s GitHub Repository and unzip/extract the file.
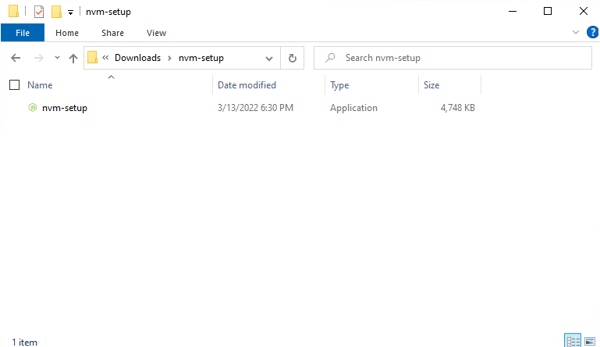
Then, run the nvm-setup.exe file that was extracted from the zip file.
Note: you may receive a User Account Control prompt when trying to run this executable.
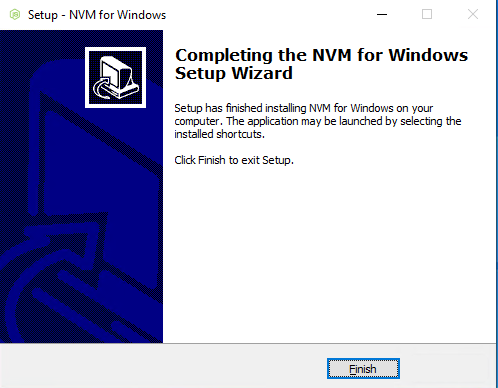
Accept the license agreement and continue the installation with the defaults until the setup wizard is completed.
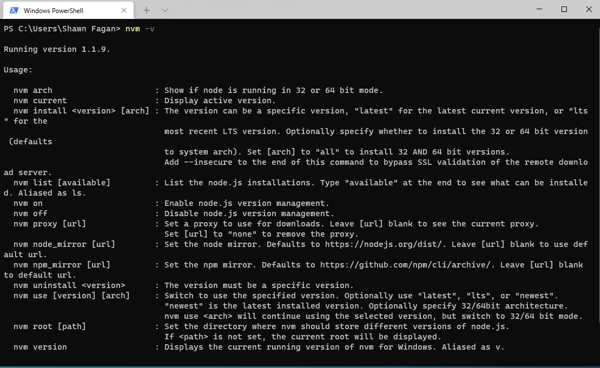
Next, open a command prompt (I recommend Windows erminal) and run nvm -v.
If everything is installed correctly, the output will be similar to this:
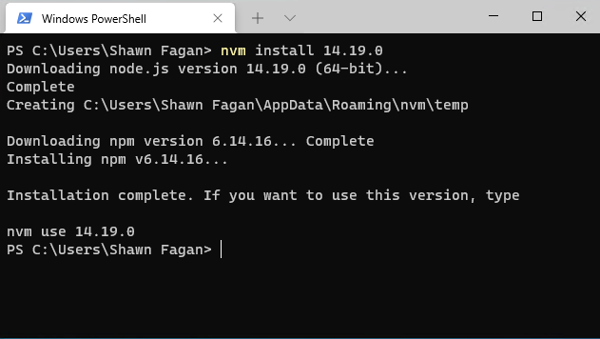
Finally, we need to install one of the NodeJS versions. Within the command prompt, run nvm install 14.19.0.
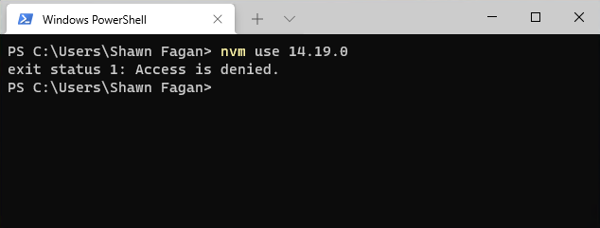
Now, to select NodeJS v14 for use, run the following command. You may receive an access is denied error message. This is because you need to run the command prompt as an administrator.
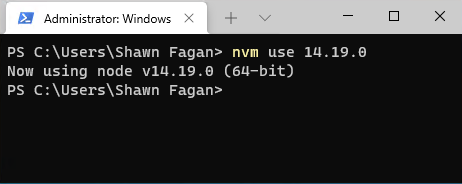
After you open a new command prompt window as an administrator, run the command again and you will now be using Node v14.19.0.
Install the Development Toolchain
SharePoint Framework used common open-source tools such as Gulp and Yeoman. You will need to install both these tools plus the SharePoint Framework Yeoman Generator. The SharePoint Framework Yeoman Generator creates the initial structure of your SharePoint Framework project.
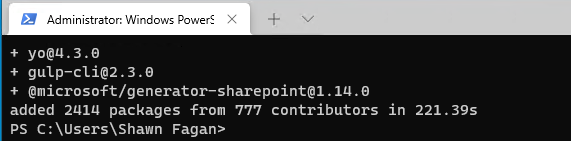
npm install gulp-cli yo @microsoft/generator-sharepoint@1.14.0 --global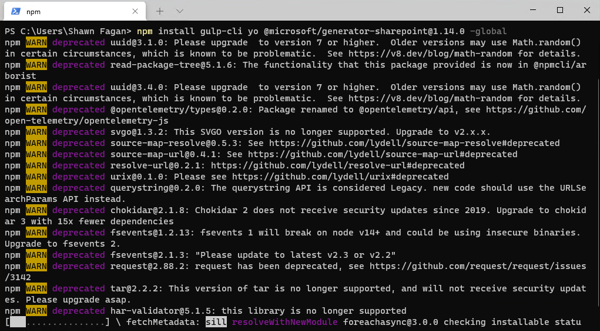
This will take a few minutes, but when it’s completed, you will have Gulp, Yeoman, and the SharePoint Framework Yeoman Generator installed on your machine.
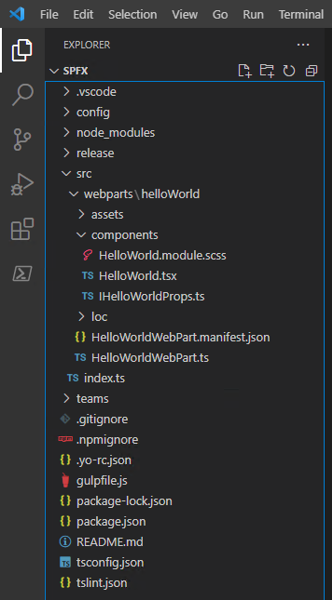
Creating Your First SPFx Web Part
Now it’s time to create your first SharePoint Framework web part.
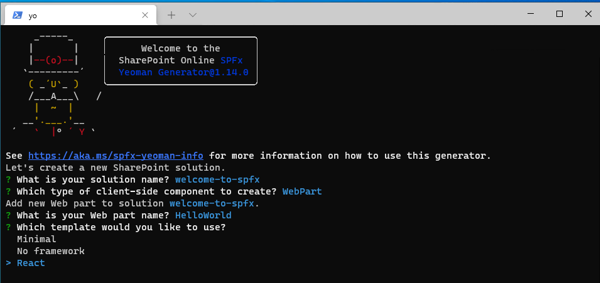
You’re going to start by running the SharePoint Framework Yeoman Generator to create the file structure of your project. Look at this as the SharePoint project template in Visual Studio.
yo @microsoft/sharepointIf this is the first time running a Yeoman Generator on this machine, it will ask if you are willing to send anonymous stats to improve the tool. Your choice is not going to impact your use of the tool, so pick what is best for you.

When you get past that, the Yeoman Generator will ask you some questions on what you are building.
First, it will ask the name of your solution. Pick a name that is meaningful to you, as this is the name the build process will use to create the package file.
Second, it will ask what you are trying to create. There are several component options within the SharePoint Framework of what you can create. For this example we will be creating a web part.

Next, it will ask you for the name of your web part. Don’t use the word “WebPart” in your name, as the generator will create the folder with WebPart in it twice.
Finally, the SPFx generator will ask you what template you would like to use. This is what JavaScript framework you want to use. When I started with SFPx, I used “No framework” and added jQuery to the project. At the time, jQuery was something I knew how to write, so it gave me a comfortable starting point. Now, after almost 6 years of working with SPFx, I go with React.
Choose the JavaScript framework you are comfortable with. There’s a lot to learn and understand with SharePoint Framework, so don’t add a new JavaScript framework to learn as well from the beginning.
Now, sit back and let the SharePoint Framework Yeoman generator do its thing. It will first create the file structure and then it does the most important part: it installs the over 100 NodeJS packages needed for an SPFx project.

There is one last command we need to run before we can check out the web part. From within the command prompt run:
gulp trust-dev-cert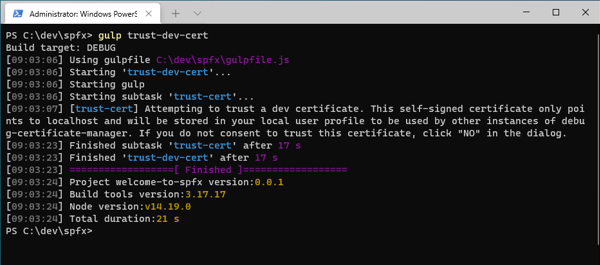
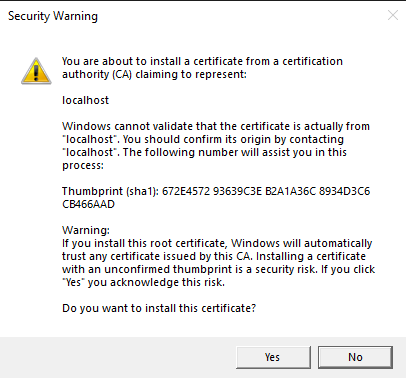
This creates a local certificate for you to be able to load your web part into SharePoint Online for testing and debugging.
Once the SharePoint Framework Yeoman generator is completed and the local certificate is created, we are ready to check out the web part.
Open your code editor. In this example, I will be using Visual Studio Code.
Before we see the web part on a SharePoint page, we need to edit one file first.
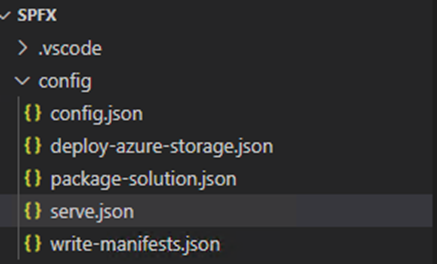
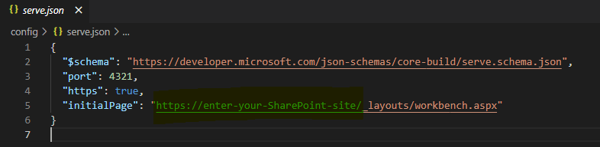
Under the config folder, open the serve.json file and edit the “intialPage” value in the Json with your SharePoint site. This can be any site within your SharePoint tenant.
Now, run gulp serve in your command prompt.
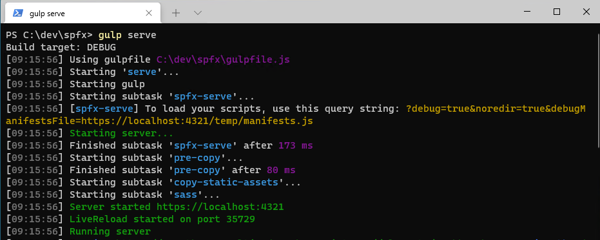
Your default browser will open directly to your SharePoint site’s workbench. The workbench is a location within every site where you can work on your web part without impacting a live page.
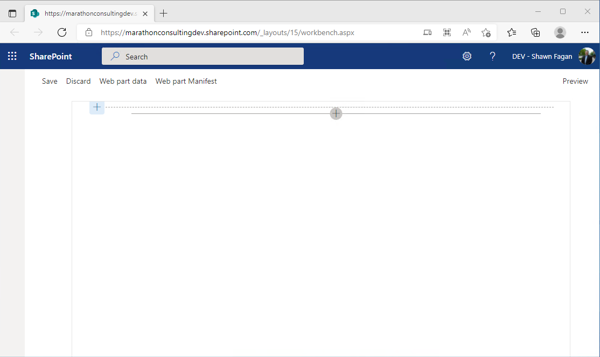
Click on the plus icon on the page and select your web part.
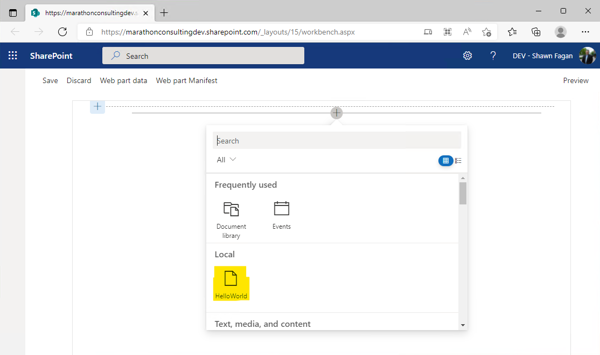
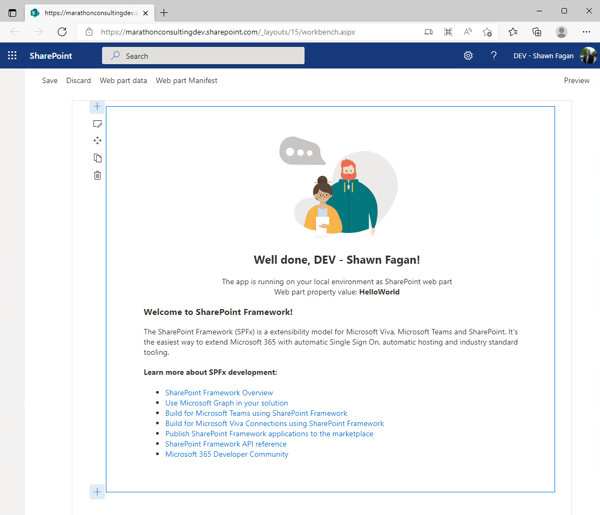
You have now loaded your first SharePoint Framework web part on a page.
Important Gulp Commands
gulp trust-dev-cert
Creates a local certificate for development and debugging.
gulp serve
Creates a local webserver to host the client-side code of your solution.
gulp clean
Clears out all complied code from the release folder.
gulp build
Builds and compiles the JavaScript code within your project.
gulp build --ship
Builds and compiles the JavaScript code within your project for production use.
gulp bundle --ship
Bundles and minifies your JavaScript to optimize your files to reduce the number of server requests for JavaScript files.
gulp package-solution --ship
Creates the deployment package with all your JavaScript files and any other assets your project requires.
Conclusion
Hopefully this article was useful in getting you started with your first SharePoint Framework web part. There is a lot you can do with the SharePoint Framework, such as single app pages and Microsoft Teams tabs. In future articles, I will go into more detail on how to do these and more.

Shawn has been developing and administering SharePoint for over 16 years with over 20 years of IT and development experience. He learned HTML on a Windows 3.1 computer by looking at the source code of popular sites he visited and is now focused on SharePoint, Microsoft 365, and Azure administration. He lives in Chesapeake with his wife, Lori, and two sons, Jameson and Nolan, where he helps coach both his sons’ baseball teams.